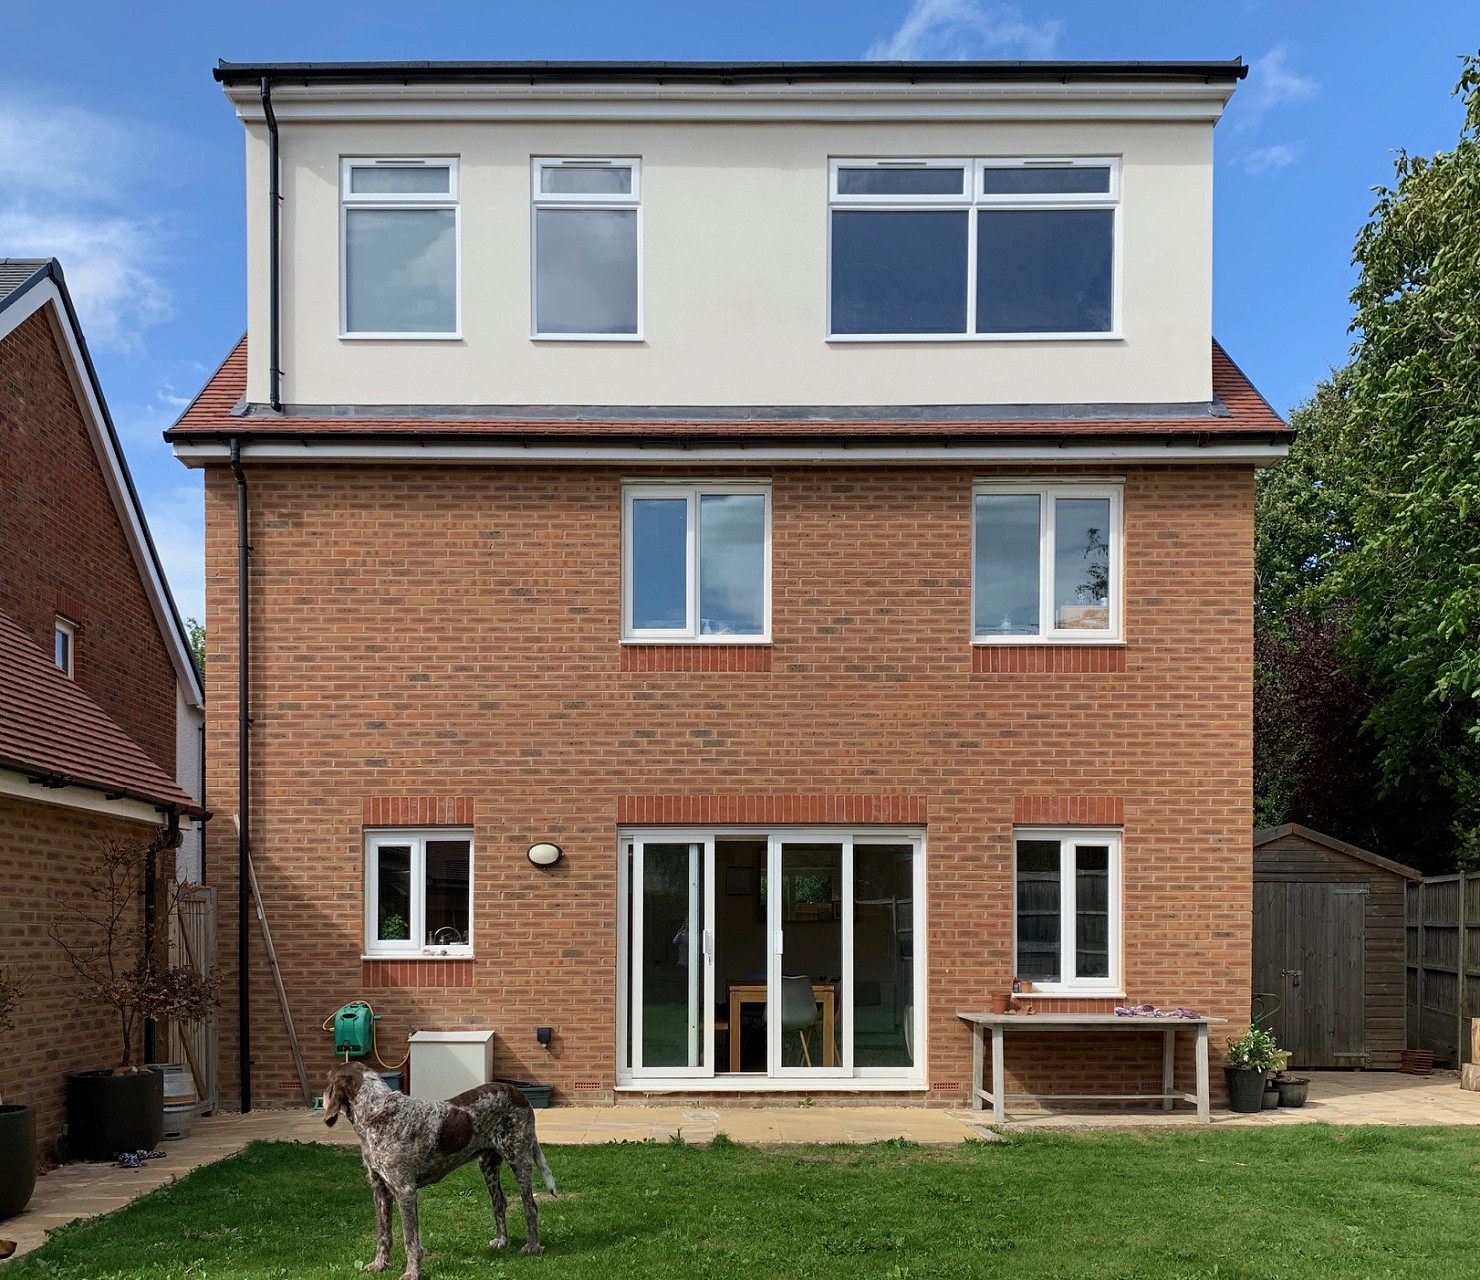
149+ Building A Flat Roof Dormer

 infoupdate.org ```html
 Introduction: Adding Light and Space with a DIY Flat Roof Dormer A flat roof dormer can be a fantastic addition to a home with an attic or loft space, providing much-needed light, headroom, and even ventilation. Building one yourself is a challenging but rewarding project that can significantly increase your living area and property value. This guide provides a step-by-step approach to constructing a flat roof dormer. Remember to always check and adhere to local building codes and obtain necessary permits before starting any construction. Safety should be your top priority throughout the process.
Step 1: Planning and Preparation Before you even pick up a hammer, thorough planning is crucial. This stage involves several key tasks: Measure and Design: Determine the desired dimensions of your dormer. Consider the existing roof structure, the amount of light you want to introduce, and the overall aesthetic you're aiming for. Sketch out a detailed plan with accurate measurements. Check Building Codes and Obtain Permits: Contact your local building department to understand all applicable codes and regulations. You'll likely need a building permit before you can begin construction. Submit your plans for approval. Gather Materials and Tools: Create a comprehensive materials list based on your design, including lumber (pressure-treated for framing), sheathing, roofing materials (e.g., EPDM, TPO), flashing, windows, insulation, fasteners, and sealant. Gather necessary tools like a circular saw, reciprocating saw, drill, hammer, level, measuring tape, safety glasses, and work gloves.
Step 2: Framing the Dormer Framing creates the structural skeleton of your dormer. Cut the Roof Opening: Carefully mark the outline of the dormer opening on the existing roof. Use a reciprocating saw to cut through the roofing material and sheathing. Ensure the cut is precise and follows your plan. Build the Dormer Walls: Construct the side walls, front wall, and back wall (where it connects to the existing roof) using pressure-treated lumber. Ensure walls are square and plumb. Nail or screw the studs together securely. Attach the Walls to the Roof: Carefully lift the framed walls onto the roof and position them within the cut opening. Securely fasten the walls to the existing roof rafters and sheathing using appropriate fasteners. Use structural screws for added strength. Check for plumb and level throughout. Install the Header: Frame a header above the window opening to support the roof load. The size of the header will depend on the span and load requirements; consult with a structural engineer if necessary.
Step 3: Roofing and Sheathing Once the framing is complete, it's time to close it in and create a weatherproof surface. Install Roof Joists or Rafters: Attach joists or rafters to span the gap between the dormer walls and the existing roof. Ensure they are properly spaced and secured to provide adequate support for the flat roof. Apply Sheathing: Cover the framed walls and roof with sheathing (plywood or OSB). Nail or screw the sheathing securely to the framing members. Ensure the sheathing is properly aligned and butted together. Waterproof the Sheathing: Apply a waterproof membrane to the sheathing to protect it from water damage. Overlap the seams of the membrane according to the manufacturer's instructions.
Step 4: Roofing Installation Choosing the right roofing material and installing it correctly is crucial for a long-lasting, leak-free dormer. Install Flashing: Apply flashing around the base of the dormer where it meets the existing roof, as well as around the window opening. This will prevent water from seeping in. Use appropriate flashing materials (aluminum, copper, or steel) and sealant. Apply Roofing Material: Install your chosen flat roofing material (EPDM, TPO, or modified bitumen) according to the manufacturer's instructions. Ensure proper adhesion and sealing of seams. A professional roofer may be beneficial, especially for larger or more complex projects.
Step 5: Window Installation and Finishing Touches The final steps involve installing the window and finishing the exterior. Install the Window: Carefully install the window into the framed opening. Ensure it is level and plumb. Use shims as needed to adjust the window's position. Seal the Window: Apply sealant around the window frame to create a waterproof seal. Insulate the Dormer: Insulate the walls and roof of the dormer to improve energy efficiency. Use appropriate insulation materials such as fiberglass batts, spray foam, or rigid foam boards. Exterior Finishing: Add exterior siding or trim to match the existing house. This will give the dormer a finished look and protect the underlying structure. Interior Finishing: Complete the interior by adding drywall, painting, and trimming as desired.
Conclusion: Enjoying Your New Dormer Building a flat roof dormer is a significant undertaking, but it can dramatically improve your home. By following these steps carefully, you can add light, space, and value to your property. Remember to prioritize safety, adhere to building codes, and take your time to ensure a quality finished product. Enjoy the newfound light and space in your newly dormered room!
``` Flat Roof Dormer Construction Details
infoupdate.org Flat Roof Dormer Loft Conversion In Bristol
 www.turnerslofts.co.uk
 Flat Roof Dormer Loft Conversions
 www.oxonconversions.com

0 Comments